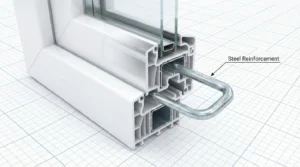
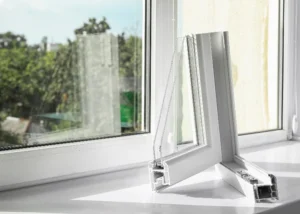
Imagine it’s a bright weekend morning, and sunlight spills gently across your living room floor. You decide it’s time to replace that old, squeaky frame with a sleek new Sliding Window — a stylish upgrade that lets in more light and breeze while saving precious space. Installing one may seem daunting, but with the right tools and guidance, you can achieve a perfect fit in just a few hours.Before installation, review what a sliding window is and common frame types.
Tools You’ll Need
Before starting, make sure you have everything ready:
Measuring tape
Level and square
Power drill and screws
Weatherproof sealant
Foam insulation
Gloves and safety glasses

Step 1: Measure and Prepare the Opening
Measure the existing window opening carefully. Both width and height must be even, and corners should form perfect 90° angles. Remove any old frames, paint flakes, or debris. Clean the surface to ensure strong adhesion for the sealant.
Pro Tip: Use masking tape around the edge before applying sealant to create a clean finish line.

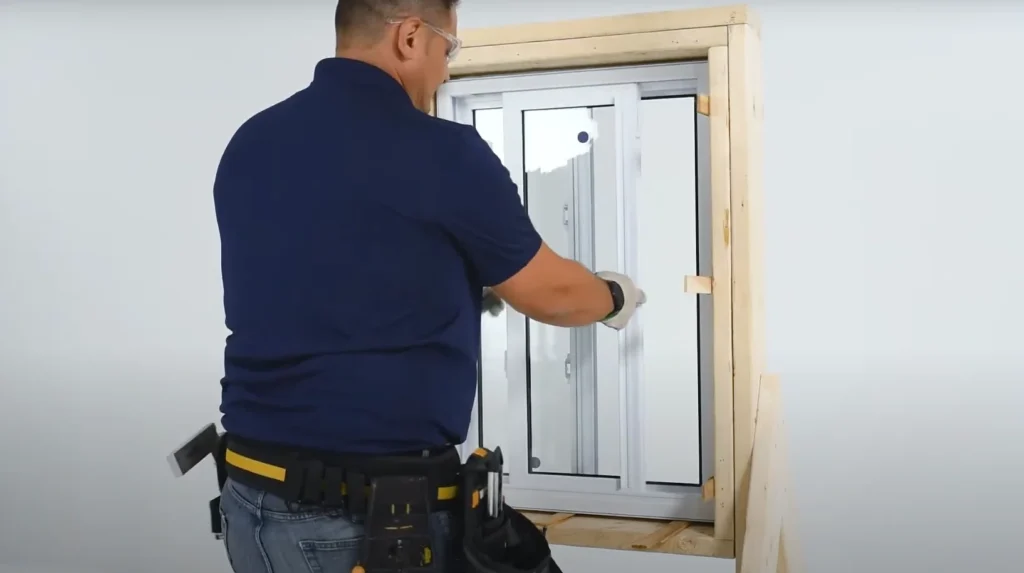
Step 2: Test-Fit the Frame
Insert the Slider Window frame into the opening to test the fit. Adjust it until it sits snugly, with no gaps or tilt. Use shims to level and stabilize it.
Common Mistake: Many DIYers skip this dry fit — don’t. It ensures your final alignment stays true once screws go in.

Step 3: Secure the Frame Firmly
Once aligned, secure the frame using screws through pre-drilled holes. Start from the top corners, moving downwards evenly. Avoid over-tightening to prevent frame distortion or track misalignment.

Step 4: Install the Sashes and Test Smooth Sliding
Lift each sash gently into the track and slide it back and forth to check for smooth movement. A properly installed Sliding Glass Window should glide effortlessly with minimal resistance.
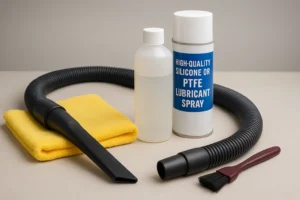
Pro Tip: Apply silicone lubricant along the track for smoother motion and less noise.
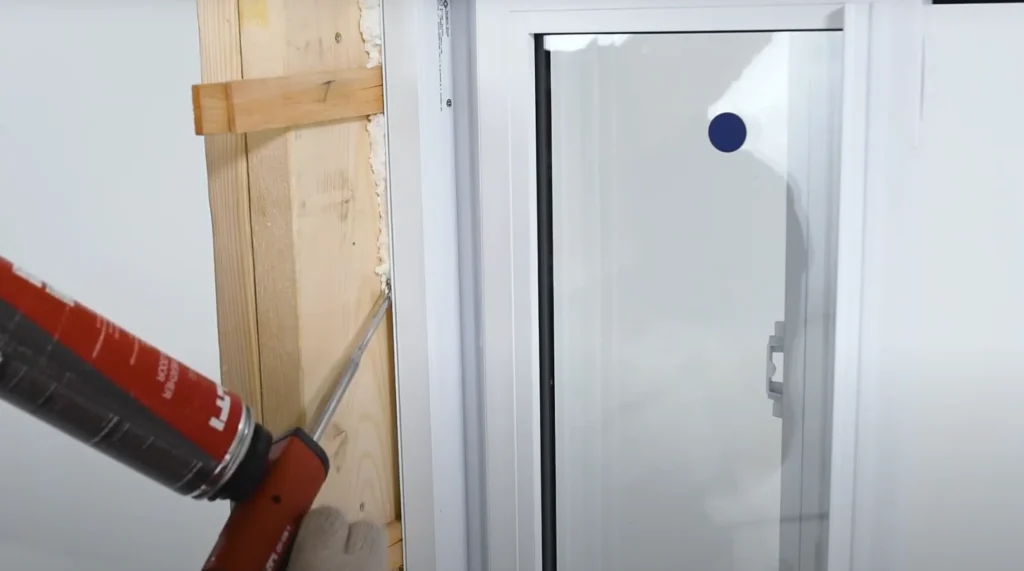
Step 5: Seal, Insulate, and Finish
Apply weatherproof sealant around the outer edges to prevent leaks. Fill minor gaps with foam insulation. This enhances energy efficiency and prevents condensation buildup.
Pro Tip: Choose low-E glass and insulated frames for maximum thermal performance.
Step 6: Final Inspection and Cleanup
Slide the sashes multiple times to test functionality. Check that locks engage properly and seals are tight. Wipe away extra sealant and dust.Once installed, proper maintenance like lubricating sliding windows improves lifespan.
Now stand back and admire your work — your Sliding Window not only enhances comfort but adds a touch of modern elegance to your home.
Maintenance Tips for Long-Term Use
Clean tracks monthly to remove dirt or debris.
Lubricate with silicone spray twice a year.
Avoid slamming sashes shut.
Inspect seals annually for cracks or gaps.
For professional-level insights, see the contractor’s guide to sliding windows.
FAQs About Installing Sliding Windows
-
Q1: Can I install a Sliding Window by myself?
Yes, with proper tools and careful alignment. For large units, professional help is recommended.
-
Q2: How can I ensure proper sealing?
Use high-quality weatherproof sealant and check after 24 hours for gaps.
-
Q3: What safety precautions should I take?
Wear gloves, avoid handling glass alone, and use a stable ladder on level ground.
-
Q4: How do I measure before ordering?
Measure the frame opening at three points horizontally and vertically, then use the smallest measurement.
-
Q5: Can I reuse my old frame?
If the old frame is undamaged and square, yes — but sealing may not be as efficient as with a new one.
For more questions, visit:
👉 https://supwindow.com/sliding-window-frequently-asked-questions/