Vinyl windows are among the most popular choices for modern homes, and for good reason. They offer excellent energy efficiency, low maintenance requirements, and a clean aesthetic that complements virtually any architectural style. But after years of exposure to harsh sunlight, temperature extremes, and environmental pollutants, even the best vinyl windows can begin to show their age. Fading, chalking, cloudiness, and surface degradation are common complaints that lead many homeowners to wonder whether restoration is possible or if replacement is the only option.
As a manufacturer with decades of experience in the window industry, we can tell you this: restoration is often possible, but the approach depends entirely on the specific condition of your windows. Understanding the science behind vinyl degradation, the limitations of various restoration methods, and when professional intervention is necessary can save you thousands of dollars while extending the life of your windows by many years.
Understanding Why Vinyl Windows Deteriorate
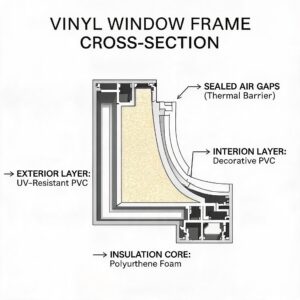
Before diving into restoration techniques, it’s essential to understand what causes vinyl windows to lose their appearance and functionality in the first place. Vinyl, or PVC (polyvinyl chloride), is a durable thermoplastic material, but it is not indestructible.
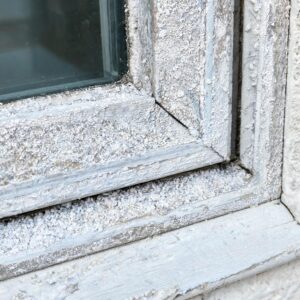
The primary culprit behind faded, chalky, or yellowed vinyl is ultraviolet radiation from the sun. UV rays break down the polymer chains in the vinyl material over time, causing a chemical reaction known as photo-oxidation. This process creates a thin layer of degraded material on the surface that appears as a white, powdery residue when you run your finger across it. This is the “chalking” effect you may have noticed.
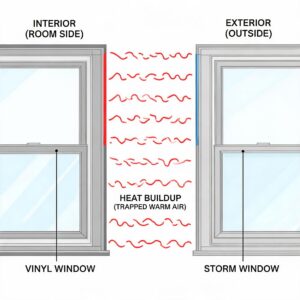
Heat exposure accelerates this process significantly. Dark-colored vinyl frames absorb more heat, which is why you’ll often see more severe degradation on south-facing windows or in regions with intense summer heat. Additionally, environmental pollutants, salt spray in coastal areas, and even certain cleaning products can contribute to premature vinyl degradation.
The good news is that surface-level oxidation and chalking are often reversible. The bad news is that structural damage, such as warping, cracking, or seal failure, typically requires replacement rather than restoration.
Assessing the Condition of Your Vinyl Windows
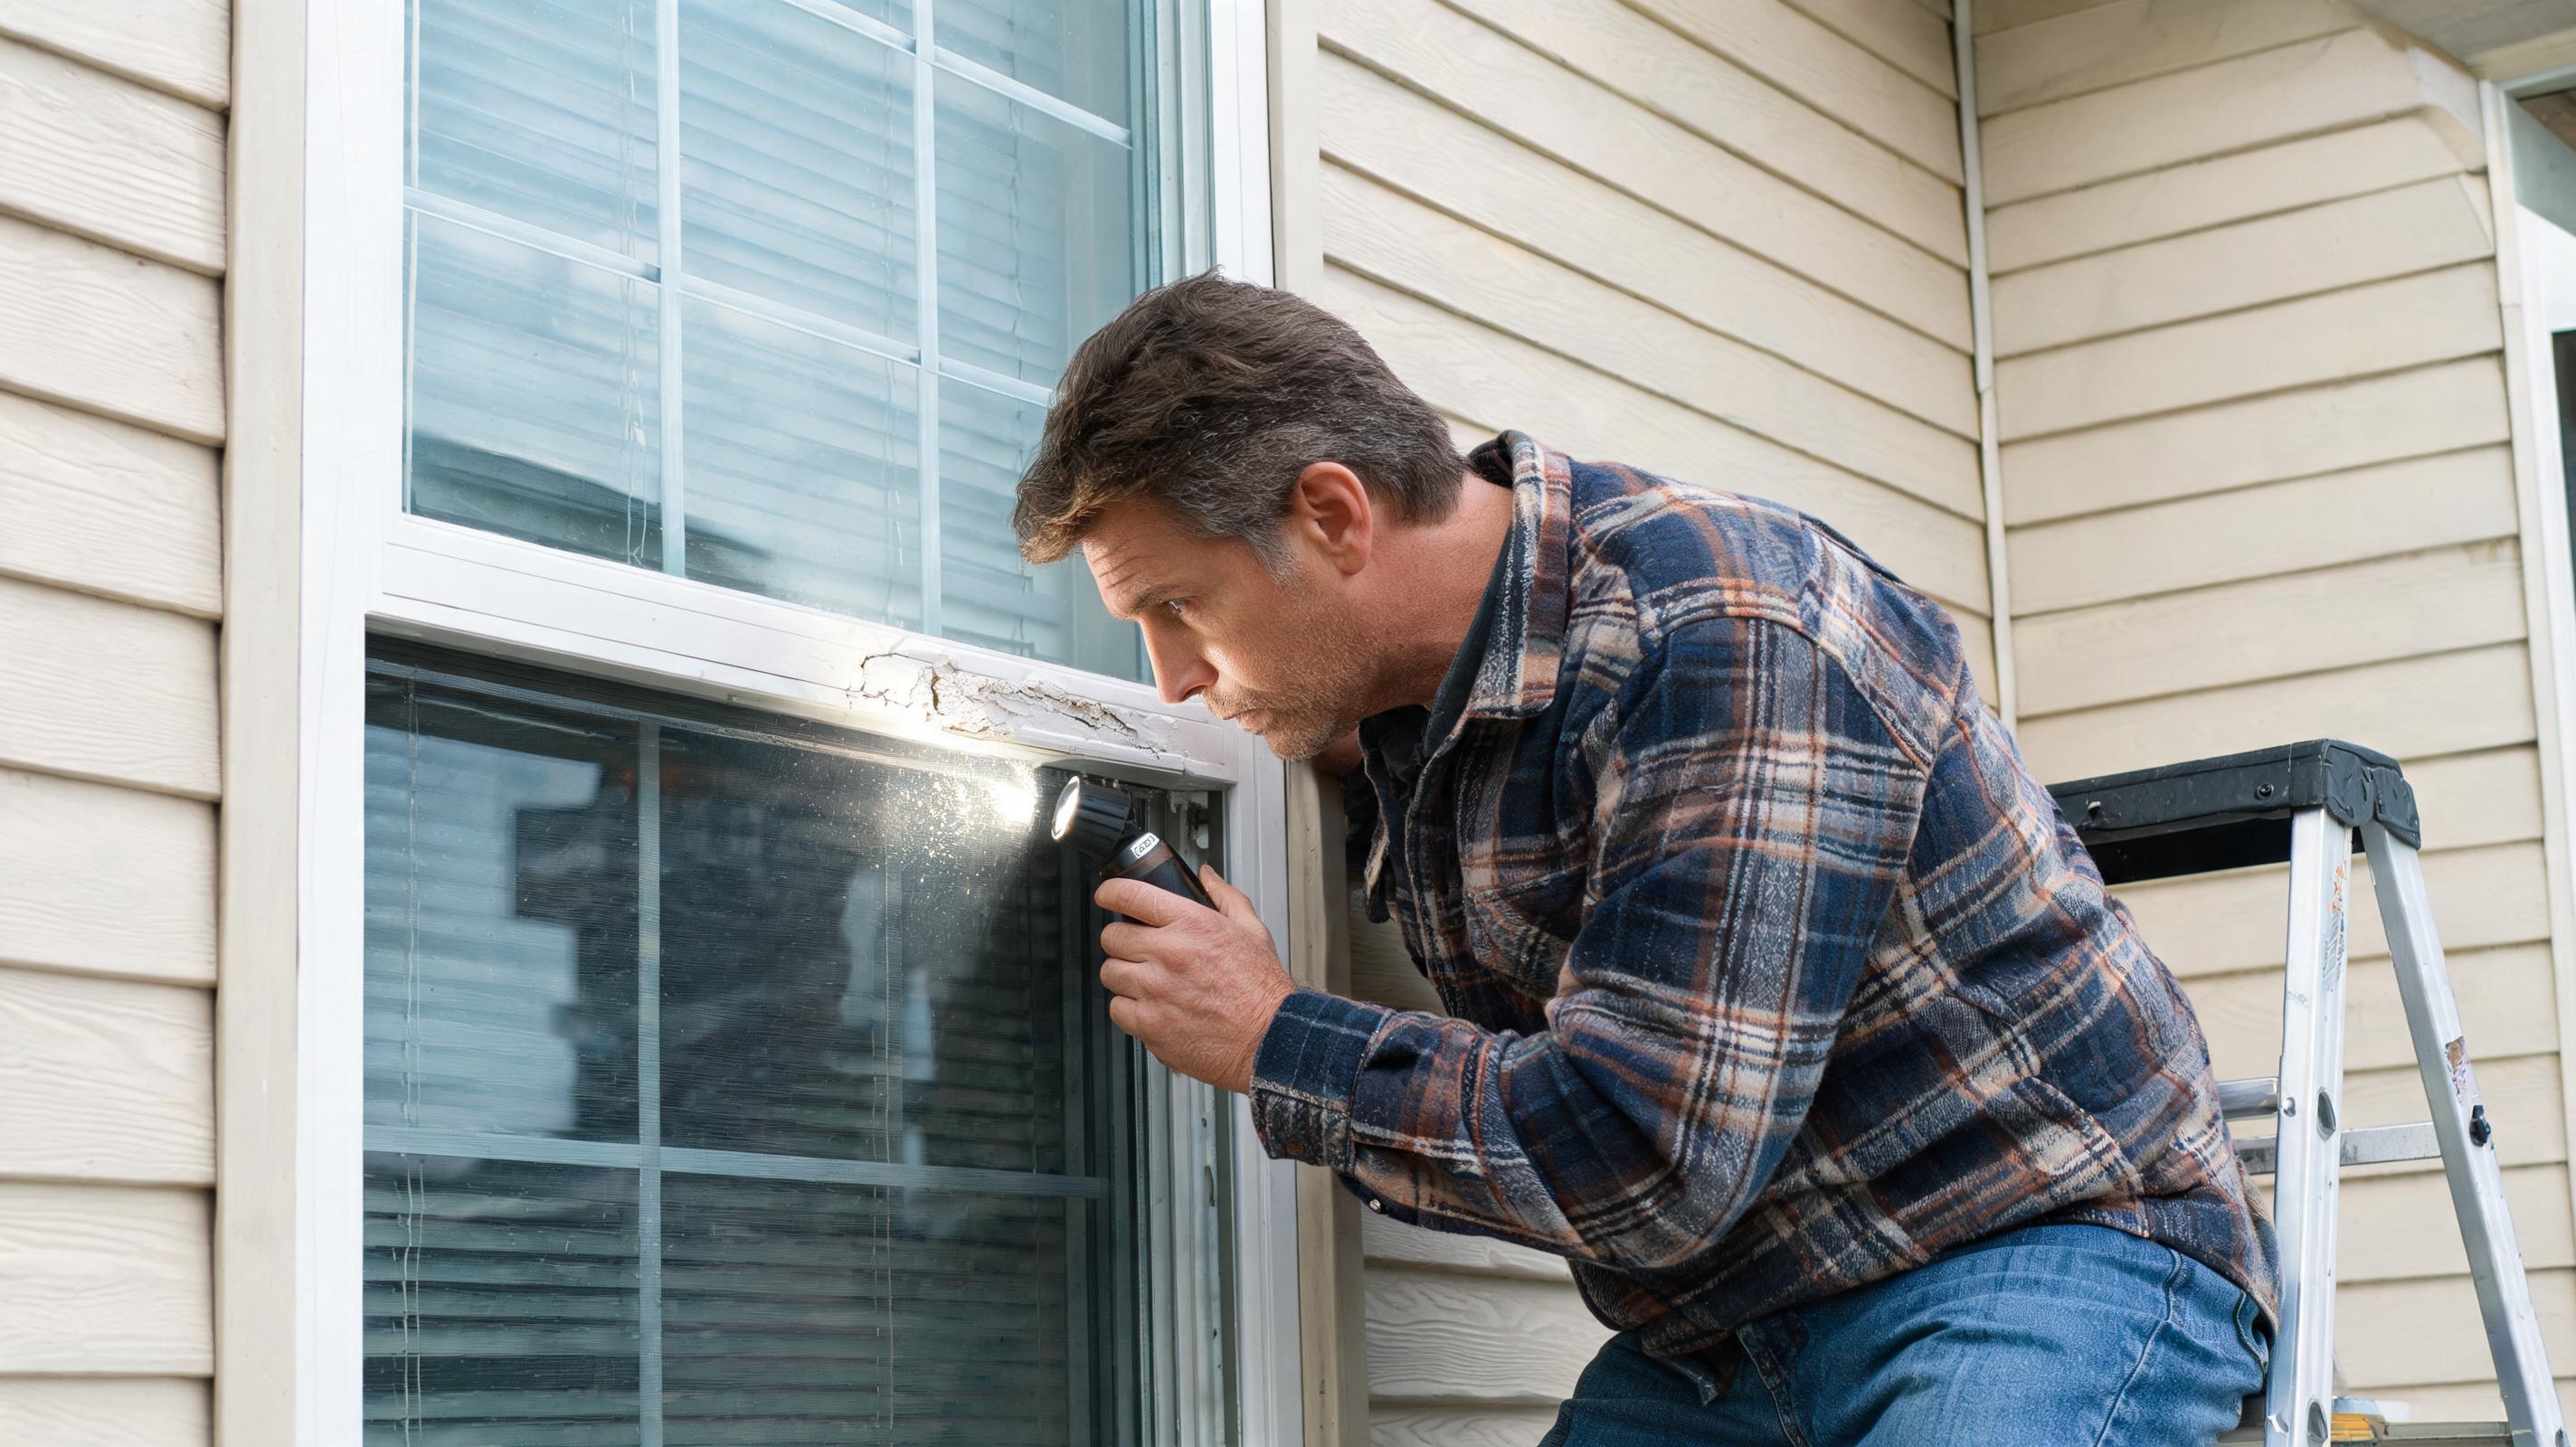
The first step in any restoration project is a thorough assessment. Not all vinyl window problems can be solved with cleaning or painting, and attempting to restore windows that are beyond repair can waste time and money.
Begin by examining the frames closely. Run your finger across the surface. If you see a white, powdery residue, your windows are experiencing chalking, which is a surface-level issue that responds well to cleaning. If the frames appear yellowed or have uneven discoloration, UV damage has penetrated deeper into the material.
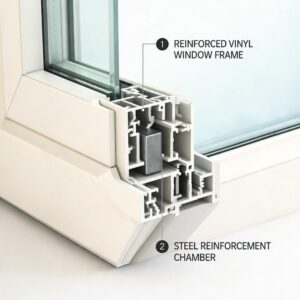
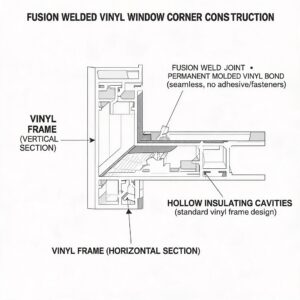
Next, check for physical damage. Look for cracks, warping, or deformation in the frame material. Pay special attention to the corners and joints where structural integrity is most critical. If you find cracks or signs of warping, restoration options become limited.
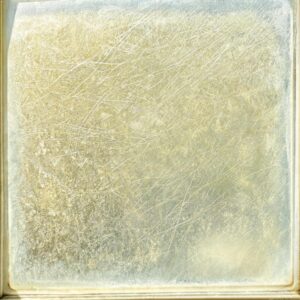
Check the glass for signs of seal failure. Condensation between panes, fogging, or a cloudy appearance indicates that the insulating seal has failed. This is not something that cleaning or painting can fix. The glass unit itself needs replacement.
Finally, test the functionality of your windows. Do they open and close smoothly? Are there drafts around the edges? Difficulty operating windows often points to balance system issues or frame warping, both of which may require professional attention.
How to Restore Vinyl Window Frames: A Step-by-Step Approach
When homeowners search for information on how to restore vinyl window frames, they are typically looking for practical, actionable solutions that don’t require replacing the entire window. The restoration process varies depending on the specific problem, but most situations fall into one of several categories.
Deep Cleaning for Faded and Chalky Frames
For the majority of vinyl window issues, a thorough deep cleaning is the first and most effective step. Many homeowners mistakenly believe their windows are permanently damaged when in reality, a layer of oxidized vinyl and accumulated grime is simply masking the original color.
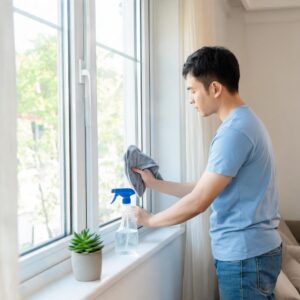
Start by rinsing the frames with plain water to remove loose dirt and debris. Mix a solution of warm water and mild dish soap, and use a soft sponge or microfiber cloth to wash the frames thoroughly. Avoid abrasive scrubbers, as these can scratch the vinyl surface and create more problems.
For stubborn chalky residue, a solution of one part white vinegar to three parts water works remarkably well. The mild acidity helps dissolve the oxidized layer without damaging the underlying vinyl. Apply the solution with a spray bottle, let it sit for a few minutes, then scrub gently with a soft brush.
For heavily oxidized frames, you may need a specialized vinyl restoration cleaner. These products contain mild abrasives and chemicals designed to remove the degraded surface layer without harming the material. Apply according to the manufacturer’s instructions, always testing on an inconspicuous area first.
After cleaning, rinse thoroughly with clean water and dry with a soft cloth. You may be surprised at how much of the original color returns. For many homeowners, this simple cleaning process is all that’s needed to restore their windows to an acceptable appearance.
Addressing Yellowed Vinyl Frames
Yellowing is a more stubborn problem than simple chalking. It occurs when UV radiation causes deeper chemical changes in the vinyl polymer, resulting in a permanent color shift. While complete reversal is difficult, there are effective methods for improvement.
Hydrogen peroxide-based cleaners can help lighten yellowed vinyl. Apply a 3% hydrogen peroxide solution to the affected areas and allow it to sit for 15 to 20 minutes before rinsing. This may need to be repeated several times for noticeable results.
For more severe yellowing, a specialized vinyl brightener or restorer may be necessary. These products contain optical brighteners that help mask discoloration while also providing UV protection to slow future degradation. Apply them according to the manufacturer’s instructions, typically after a thorough cleaning.
It’s important to set realistic expectations. Deep yellowing that has developed over many years may not return to its original white color. In these cases, painting may be a better option, which we’ll discuss shortly.
Restoring Cloudy or Hazy Glass
Cloudy glass in vinyl windows is almost always a sign of seal failure. When the insulating glass unit loses its seal, moisture and air enter the space between the panes, causing condensation, fogging, and a permanent hazy appearance.
Unfortunately, there is no cleaning solution that can fix this problem. The seal failure is internal, and the only effective solution is to replace the insulated glass unit. Many window manufacturers offer replacement glass units that can be installed without removing the entire window frame.
Some homeowners attempt to drill small holes in the glass to allow moisture to escape, but this is a temporary fix at best and often leads to more problems. The glass will continue to fog, and the energy efficiency of the window will remain compromised.
If you’re dealing with cloudiness on the exterior surface of the glass rather than between panes, standard glass cleaning with a vinegar and water solution or a commercial glass cleaner should resolve the issue. Hard water stains may require a specialized glass cleaner designed for mineral deposit removal.
Advanced Restoration Options
For windows that don’t respond adequately to cleaning, more advanced restoration methods are available. These options require more effort and investment but can significantly extend the life of your windows.
Vinyl Window Frame Restoration Coating
One of the most effective solutions for severely degraded vinyl is the application of a vinyl window frame restoration coating. These specialized coatings are designed to bond chemically with the vinyl surface, creating a new protective layer that restores color and provides long-term UV protection.
Professional-grade restoration coatings are typically applied by trained technicians using spray equipment. The process involves thorough cleaning, surface preparation, and careful application to ensure even coverage and proper adhesion. The result is a factory-like finish that can last for many years.
For DIY enthusiasts, there are consumer-grade restoration products available in spray cans or brush-on formulations. While these can produce acceptable results, they generally don’t match the durability and appearance of professional applications. Always follow the manufacturer’s instructions carefully and test on a small area first.
Si vous envisagez d'acheter un vinyl window frame restoration coating, it’s worth researching the specific product formulations. Some coatings contain UV inhibitors that provide ongoing protection, while others are primarily cosmetic. For long-term results, choose a product that offers both color restoration and UV protection.
Painting Vinyl Window Frames
Painting is a more dramatic restoration option that allows you to completely change the color of your windows while covering up surface imperfections. However, painting vinyl windows requires careful preparation and the right materials to ensure success.
Not all paints adhere well to vinyl. Standard latex or oil-based paints will likely peel and flake within a short time. You need a paint specifically formulated for vinyl or a high-quality acrylic paint designed for exterior use on plastic surfaces.
Surface preparation is critical. The vinyl must be thoroughly cleaned and lightly sanded to create a surface that the paint can grip. Use fine-grit sandpaper (220 grit or higher) and sand only enough to dull the gloss. Over-sanding can damage the vinyl.
Apply a bonding primer designed for plastic surfaces before painting. This creates a foundation for the paint to adhere to and helps prevent peeling. Allow the primer to dry completely according to the manufacturer’s instructions.
Apply two thin coats of paint rather than one thick coat. Thin coats dry more evenly and are less likely to run or sag. Allow adequate drying time between coats, and avoid painting in direct sunlight or extreme temperatures.
Keep in mind that painted vinyl windows require more maintenance than unpainted ones. The paint will eventually need to be refreshed, and any chips or scratches will be more noticeable. Additionally, painting may void the manufacturer’s warranty, so check your warranty terms before proceeding.
Resealing Vinyl Windows
Over time, the seals around vinyl windows can deteriorate, allowing air and moisture to penetrate. Resealing is a relatively simple restoration task that can improve energy efficiency and prevent water damage.
Inspect the existing caulk around your windows. If it’s cracked, peeling, or missing in spots, it needs to be removed and replaced. Use a putty knife or caulk removal tool to carefully remove the old caulk without damaging the vinyl frame.
Clean the area thoroughly and allow it to dry completely. Apply a high-quality exterior caulk designed for use with vinyl windows. Silicone or hybrid polymer caulks work well because they remain flexible and adhere strongly to vinyl.
Smooth the caulk bead with a wet finger or caulk smoothing tool for a professional appearance. Allow the caulk to cure according to the manufacturer’s instructions before exposing it to moisture.
When Restoration Isn’t Enough
While restoration can address many common vinyl window problems, there are situations where replacement is the only practical solution. Understanding these limitations can save you from investing time and money in a losing battle.
If your window frames are cracked, warped, or structurally compromised, no amount of cleaning or coating will restore their integrity. Structural damage compromises the window’s ability to seal properly, leading to energy loss, water intrusion, and potential damage to your home’s structure.
Similarly, if the window’s operating hardware is failing, restoration may not be cost-effective. Balance systems, hinges, and locking mechanisms can sometimes be repaired or replaced individually, but if multiple components are failing, replacement may be more economical.
Windows that are more than 20 to 25 years old may have reached the end of their expected lifespan. Even if they can be cosmetically restored, their energy efficiency is likely significantly lower than modern windows. In these cases, the investment in restoration may not provide the return you’d get from replacement.
For homeowners dealing with multiple failing windows or windows that are beyond cosmetic restoration, exploring replacement options is worthwhile. Modern vinyl windows offer significantly better energy efficiency, improved UV protection, and longer warranties than older models.
If you’re unsure whether restoration or replacement is the right choice, consider consulting a window professional. An experienced technician can assess your windows’ condition and provide an honest recommendation based on your specific situation.
Preventing Future Degradation
Once you’ve restored your vinyl windows, taking steps to prevent future degradation will extend the life of your restoration efforts. Prevention is always more cost-effective than repeated restoration.
Regular cleaning is the single most important preventive measure. Wash your windows at least twice a year, more often if you live in a dusty or coastal environment. Use mild soap and water, and avoid harsh chemicals that can damage the vinyl.
Apply a UV protectant specifically formulated for vinyl. These products contain UV inhibitors that help slow the degradation process. Apply them after cleaning, typically once or twice per year depending on your climate and sun exposure.
Consider installing exterior shading devices such as awnings, overhangs, or solar screens. Reducing direct sunlight exposure dramatically slows UV damage and keeps your windows cooler, which also reduces thermal stress.
Trim back vegetation that touches or rubs against your windows. Leaves, branches, and vines can trap moisture against the vinyl, promoting degradation and providing a pathway for insects.
Inspect your windows annually for signs of damage or seal failure. Catching problems early allows for simpler, less expensive repairs before they escalate into major issues.
The Economics of Restoration vs. Replacement
Cost is often the deciding factor when homeowners choose between restoration and replacement. Understanding the economics of each option helps you make an informed decision.
Deep cleaning and basic restoration typically cost very little, often just the price of cleaning supplies and a few hours of your time. This is almost always worth doing, even if you ultimately decide to replace your windows.
Professional restoration services, including coating application or painting, typically cost between $100 and $300 per window, depending on the size and complexity of the job. This is significantly less than replacement, which can cost $500 to $1,500 or more per window, including installation.
However, restoration is a temporary solution. A professional restoration may last five to ten years before needing to be repeated. Replacement, while more expensive upfront, provides a long-term solution with a warranty of 20 years or more.
For windows that are otherwise in good condition, restoration is usually the more economical choice. For windows that are old, damaged, or inefficient, replacement offers better long-term value.
Professional vs. DIY Restoration
Some restoration tasks are well within the capabilities of a motivated homeowner, while others are best left to professionals. Understanding which is which can save you frustration and ensure quality results.
Cleaning, basic resealing, and minor touch-ups are excellent DIY projects. These tasks require minimal tools and expertise, and the cost savings are significant.
Painting and coating application are more challenging. Achieving a smooth, even finish requires skill and the right equipment. Professional painters have spray equipment that produces superior results compared to brush or roller application. If you’re particular about appearance, professional application may be worth the investment.
Glass replacement should always be handled by professionals. Insulated glass units are precision components that require proper handling and installation to maintain their seal and energy efficiency. Attempting DIY glass replacement often leads to seal failure and voided warranties.
If you’re considering how to fix yellowed vinyl window frames and the problem is extensive, professional assessment is advisable. What appears to be simple yellowing may indicate deeper issues that require expert attention.
Conclusion
Vinyl window restoration is a viable option for many homeowners, offering significant cost savings compared to full replacement. Understanding the specific condition of your windows, choosing the appropriate restoration method, and knowing when replacement is the better choice are essential skills for any homeowner.
Start with a thorough assessment and a deep cleaning. You may be surprised at how much improvement you can achieve with simple cleaning. For more stubborn issues, consider professional restoration services or painting. And when restoration isn’t enough, don’t hesitate to explore replacement options that will serve you well for decades to come.
Your vinyl windows are an investment in your home’s comfort, energy efficiency, and curb appeal. With proper care and timely restoration, they can continue to perform and look their best for many years.
Questions fréquemment posées
Can I use bleach to clean my vinyl window frames?
Bleach is not recommended for vinyl window frames. While it can remove mold and mildew, it can also damage the vinyl surface and accelerate degradation. Use a mild soap and water solution or a vinegar and water mixture instead.
How often should I clean my vinyl windows?
At least twice per year, ideally in spring and fall. If you live in a dusty area, near the coast, or in a region with heavy pollution, more frequent cleaning may be necessary.
Will painting void my window warranty?
Most manufacturers consider painting a modification that voids the warranty. Check your warranty documentation before painting. If your windows are still under warranty, contact the manufacturer for guidance.
Can I restore vinyl windows that are more than 20 years old?
It depends on their condition. If the frames are structurally sound and the glass seals are intact, restoration can extend their life. However, older windows may have significantly lower energy efficiency than modern replacements.
What is the best product for restoring faded vinyl window frames?
Look for a vinyl-specific restoration product that contains UV inhibitors. Professional-grade products generally perform better than consumer-grade options. Always test any product on an inconspicuous area first.
How long does a professional vinyl window restoration last?
With proper maintenance, professional restoration can last five to ten years. The exact lifespan depends on your climate, sun exposure, and how well you maintain the windows after restoration.
Is it cheaper to restore or replace vinyl windows?
Restoration is significantly cheaper upfront, typically costing $100 to $300 per window compared to $500 to $1,500 for replacement. However, restoration is a temporary solution, while replacement provides long-term results.
Can I restore the energy efficiency of my old vinyl windows?
Resealing around the frames can improve energy efficiency, but if the insulated glass units have failed, replacement is necessary to restore full energy performance.