The Complete Guide to Basement Hopper Windows: Selection, Installation & Codes
If you’re finishing a basement, adding a bedroom, or simply trying to brighten a dark lower level, choosing the right window is a critical decision. Among the various styles available, hopper windows offer a unique set of advantages for below-grade applications. This comprehensive guide will walk you through everything you need to know—from how they operate and why they’re ideal for basements to navigating building codes and executing a proper installation.
What Exactly is a Hopper Window?
Unlike traditional double-hung or sliding windows, a hopper window is hinged at the bottom and opens inward from the top. Imagine a small, inward-swinging door for your wall. This design is particularly suited for spaces where outward clearance is limited, such as basement window wells, or where maximizing interior space is a priority. They are most commonly found in basements, bathrooms, and utility rooms, providing excellent ventilation control. When closed, the sash presses tightly against the frame, creating a strong seal against the elements.
Key Benefits of Choosing Hopper Windows for Your Basement
Why should a hopper style be at the top of your list for a basement project? Let’s break down the advantages:
Superior Weather Sealing: The inward-opening design allows the sash to seal into the frame, making it exceptionally resistant to wind-driven rain and air infiltration. This is crucial for below-grade spaces prone to moisture.
Enhanced Security: When locked, the hinge mechanism is on the inside, making it extremely difficult to force open from the exterior. The design itself acts as a deterrent.
Space-Efficient Operation: Since they open inward, they don’t require any exterior clearance. This makes them perfect for tight window wells where a casement or awning window would be impossible.
Excellent Ventilation Control: Opening from the top allows warm, stale air to escape effectively. You can safely leave them slightly open for airflow even during a light rain, as the sash acts as a small awning.
Cost-Effectiveness: Generally, hopper windows are one of the more affordable window styles due to their simpler hardware and mechanism compared to double-hung or casement units.
The Critical Factor: Basement Egress Requirements and Building Codes
This is the most important section for any homeowner. Building codes, specifically the International Residential Code (IRC), have strict requirements for egress windows in habitable basements and bedrooms. An egress window is a legally mandated emergency exit in case of fire.
A standard hopper window RARELY meets egress requirements on its own.
Here’s why: The IRC mandates that an egress opening must have a minimum clear opening of 5.7 square feet, with a minimum height of 24 inches and a minimum width of 20 inches. Most standard basement hopper windows are simply too small. However, they play a vital role in a compliant egress system:
As a Ventilation Component: In a basement living space, you need both light/ventilation and egress. A larger egress well window (like a sliding or casement) may be installed for the emergency exit, while a smaller hopper is added elsewhere to meet minimum ventilation requirements.
In Non-Habitable Spaces: For laundry rooms, storage areas, or unfinished basements where egress is not mandated, hopper windows are an ideal, code-compliant choice for providing light and air.
Always check with your local building department before finalizing plans. Assuming a small hopper window qualifies for a bedroom egress is a costly and dangerous mistake.
How to Select the Perfect Basement Hopper Window
Choosing the right unit involves considering materials, glass, and precise sizing.
Material Showdown: Vinyl, Aluminum, and Wood
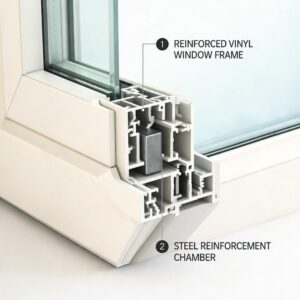
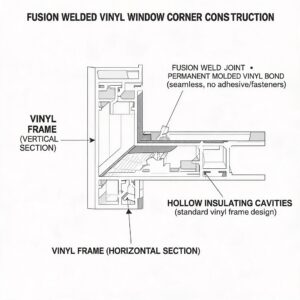
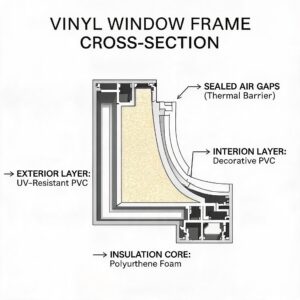
Vinyl Windows (UPVC): The most popular choice for basements. They are highly resistant to moisture, rot, and corrosion—perfect for damp below-grade environments. They require virtually no maintenance (no painting or scraping) and provide excellent insulation. This makes a PVC window a top contender for value and longevity.
Aluminum: Known for strength and a slim profile, allowing for more glass area. However, they are less energy-efficient than vinyl as metal conducts heat and cold. They can also be prone to condensation. Best for mild climates or where maximum glass area is desired.
Wood: Offers a classic, high-end look but is generally not recommended for basement applications due to its susceptibility to moisture, rot, and insect damage. It requires significant and regular maintenance.
Glass and Glazing Options
For basement windows, glass performance is key.
Double-Pane Insulated Glass: A non-negotiable standard. The air or gas (like argon) between the panes acts as a thermal barrier, keeping your basement warmer in winter and cooler in summer.
Low-E Coatings: A microscopic, invisible layer on the glass that reflects infrared light. It helps keep heat inside during winter and blocks solar heat gain in summer, improving energy efficiency year-round.
Laminated or Tempered Safety Glass: Often required by code for windows within a certain height of the floor. Tempered glass breaks into small, dull pieces instead of sharp shards.
Getting the Size Right: A Measurement Guide
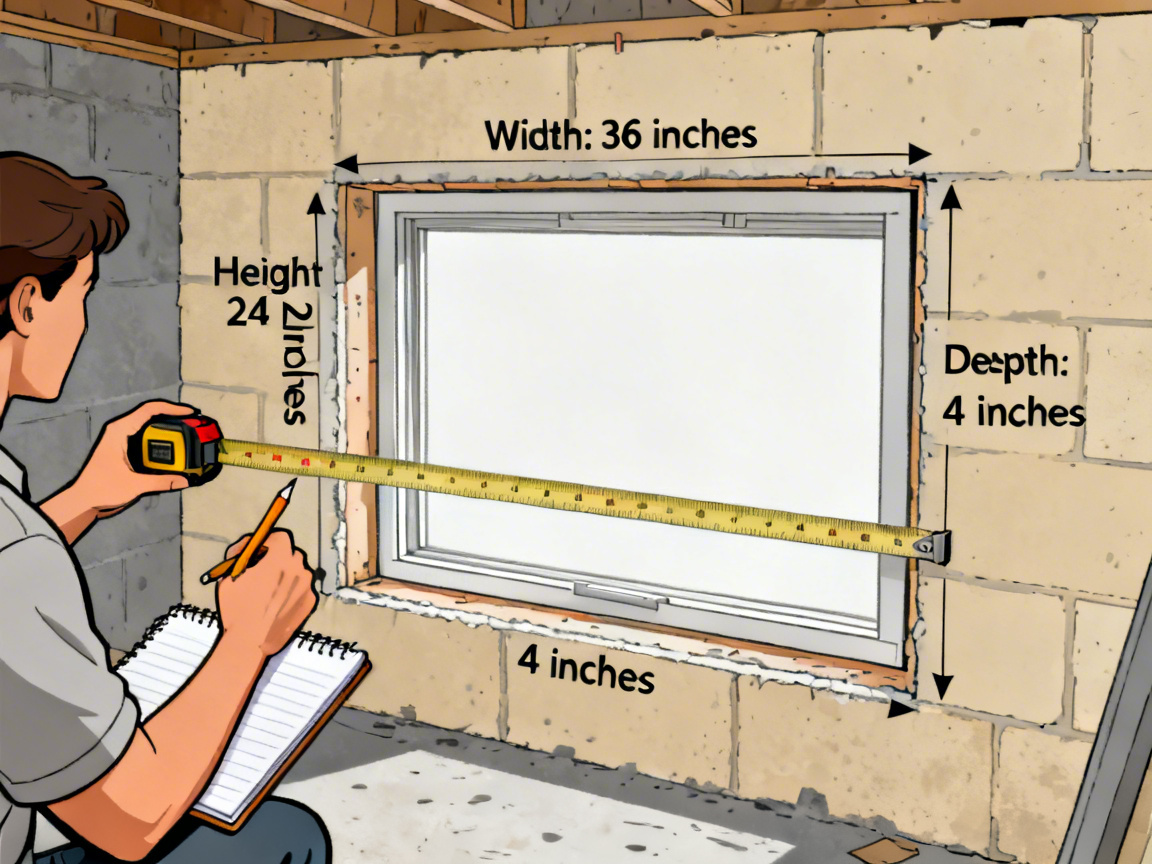
Accuracy is everything. You’ll be measuring the rough opening—the structural hole in your foundation.
Measure the Width: Take three measurements: across the top, middle, and bottom of the rough opening. Use the smallest of these three measurements.
Measure the Height: Similarly, measure the left side, middle, and right side. Again, use the smallest measurement.
Record and Subtract: The window unit you order will be slightly smaller than these rough opening dimensions to allow for shimming and squaring. A typical clearance is 1/2 inch in width and height. Always follow the manufacturer’s specific sizing guidelines.
Professional Installation Overview: What to Expect
While a handy homeowner might replace a simple above-grade window, basement window installation is often a job for professionals, especially if it involves modifying a foundation wall for egress.
A professional installation typically follows these steps:
Removal & Prep: Carefully removing the old window and cleaning the rough opening.
Dry-Fit & Flashing: Test-fitting the new unit, then applying waterproof flashing tape or membrane around the opening to create a critical drainage plane.
Setting & Leveling: Placing the window in the opening, using shims to ensure it is perfectly level, square, and plumb.
Securing & Sealing: Fastening the window through its nailing fins or frame into the foundation, then applying a high-quality exterior caulk around the perimeter to seal out water.
Interior Insulation & Trim: Filling gaps around the interior frame with low-expansion spray foam insulation and installing interior trim.
Long-Term Care and Maintenance
To ensure your windows last for decades:
Clean Regularly: Wash the glass and vinyl frames with mild soap and water. Avoid abrasive cleaners.
Lubricate Moving Parts: Once a year, apply a silicone-based lubricant to the hinges, locks, and operating mechanism to ensure smooth operation.
Inspect Seals: Check the weatherstripping and caulking on the exterior every few years. Re-caulk if you notice cracks, gaps, or peeling.
Clear Drainage Paths: Ensure the window well is free of leaves and debris so water can drain away from the window.
Frequently Asked Questions (FAQs)
Q: Can I use a hopper window as my basement bedroom’s emergency egress?
A: In almost all cases, no. Standard hopper windows are too small to meet the minimum clear opening size required by building codes for egress (5.7 sq. ft.). You will need a larger egress-specific window, often paired with a window well.
Q: What is the actual “rough opening” size needed for a common 24″ x 12″ hopper window?
A: The rough opening must be larger than the window unit itself. For a nominal 24″ wide x 12″ high hopper, you should expect a rough opening requirement of approximately 25.5″ wide x 13.5″ high. Always confirm exact dimensions with the manufacturer’s specification sheet before cutting or ordering.
Q: How much should I budget for a professional to install a basement hopper window?
A: Costs vary widely by region, scope, and foundation type. For a simple replacement in an existing opening, you might pay between $300 and $600 per window, including the unit. For a new installation that requires cutting into the foundation (especially for egress), costs can range from $1,500 to $3,500 or more per window, as it involves masonry work, structural considerations, and exterior landscaping.
Q: Are vinyl (UPVC) hopper windows a good choice for a damp basement?
A: Yes, they are an excellent choice. Vinyl is inherently resistant to moisture, rot, and corrosion. Unlike wood, it won’t warp or decay in humid conditions, and unlike aluminum, it doesn’t promote condensation. This makes a PVC window one of the most durable and low-maintenance options for below-grade applications.